
 95613
95613
The microsoft authenticator app is an easy alternative to using a text or phone call for multifactor authentication and is the best method for accounts that multiple users monitor, i.e. departmental email accounts. Please consider migrating to this method as Microsoft may soon only support an authenticator app, sms and phone calls will no longer be supported.
Follow the steps below to setup the app for mfa (note the on-screen prompts in the app may vary slightly between the ios and android versions).
(Google Authenticator is also an option if preferred, starting on step 4):
- Sign in to your account via Outlook Web at http://mail.office365.com using a desktop or laptop browser, click on your name in the upper right, then choose VIEW ACCOUNT. (these steps can be done with a mobile browser but using a desktop browser may be simpler and is recommended.)
You can also click this My Account portal link to go directly to your security info:

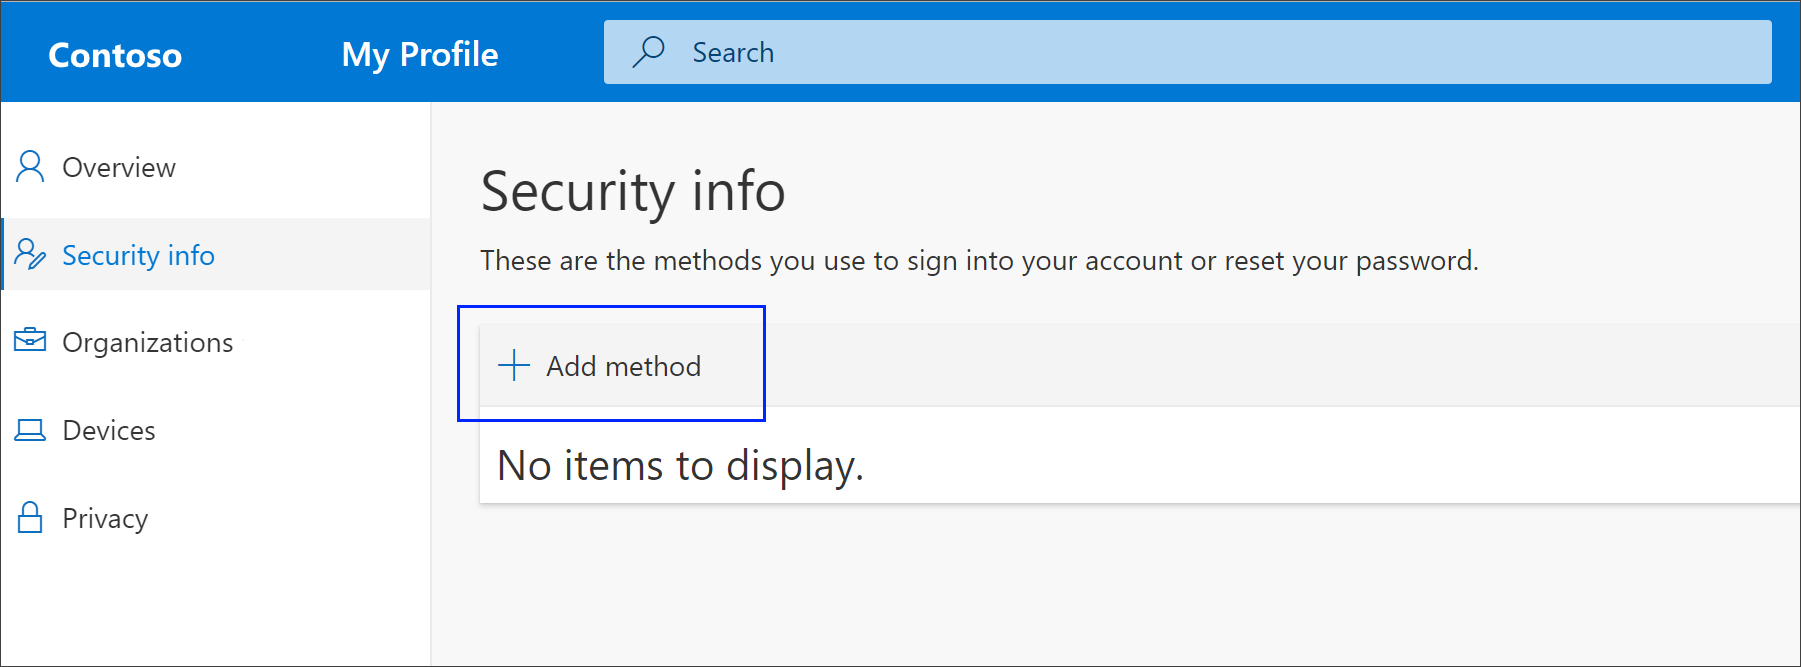
- Select Security info in the left menu or by using the link in the Security info pane. If you are currently on mfa, you'll be prompted for it.
Next, select Add method in the Security info pane:
- On the Add a method page, select Authenticator app from the list, and then select Add.
- On the Start by getting the app page, select Download now to download and install the Microsoft Authenticator app.
Scan the QR code matching your mobile device type, you can also get the authenticator app by using this link.
If you can't scan the QR code, click the Get the app button under your mobile device type.
(If you prefer to use Google Authenticator instead of MS Authenticator, choose I want to use a different authenticator app):

- Remain on the Set up your account page on your desktop or laptop while you set up the Authenticator app on your mobile device:

- Open the Microsoft Authenticator app, select to allow notifications (if prompted), select Add Account then choose Work or School account. Choose Scan QR Code.
(If it takes you to a sign-in screen, click cancel then begin again by clicking Add Account, Work or School account again. You are looking for the Scan QR Code prompt.)
Note: The first time you set up the Microsoft Authenticator app, you might receive a prompt asking whether to allow the app to access your camera (iOS) or to allow the app to take pictures and record video (Android). You must select Allow so the authenticator app can access your camera to take a picture of the QR code in the next step.
- Return to the Set up your account page on your computer or laptop, and then select Next.
The Scan the QR code page appears:

- Scan the provided code with the Microsoft Authenticator app QR code reader, which appeared on your mobile device after you created your account in Step 6.
(If you can't use your camera to scan a QR Code, click Can't scan the image on your PC and tap Enter code manually on your mobile.)
(If using Google Authenticator, open the authenticator app, click on the + in the bottom right, choose scan a QR code, and scan the QR code. This will connect your authenticator app with your account.)
- The authenticator app should successfully add your account without requiring any additional information from you. However, if the QR code reader can't read the code, you can manually enter the code and URL into the Microsoft Authenticator app.
- Select Next on the Scan the QR code page on your computer. A notification is sent to the Microsoft Authenticator app on your mobile device, to test your account.

- Approve the notification in the Microsoft Authenticator app, and then select Next.
Your security info is updated to use the Microsoft Authenticator app by default to verify your identity when using mfa or password reset.

Additional Instructions For The Security Info Screen
How to Delete your authenticator app from your security info methods
If you no longer want to use your authenticator app as a security info method, you can remove it from the Security info page. This works for all authenticator apps, not just the Microsoft Authenticator app. After you delete the app, you have to go into the authenticator app on your mobile device and delete the account.
Important: If you delete the authenticator app by mistake, there's no way to undo it. You'll have to add the authenticator app again, following the steps above.
- On the Security info page, select the Delete link next to the Authenticator app.

- Select Yes when asked to confirm to delete the authenticator app. After the authenticator app is deleted, it's removed from your security info and it disappears from the Security info page. If the authenticator app is your default method, the default changes to another available method.
- Open the authenticator app on your mobile device, select Edit accounts, and then delete your account from the authenticator app.
- Your account is completely removed from the authenticator app for mfa and password reset requests.
Changing your default authentication method
- On the Security info page, select Change next to the Default sign-in method information:

- Choose the method you would like to use from the list of available methods:

- Select Confirm. The method selected will now be your default for mfa and password reset.
---
If you have any questions about anything mentioned above, you can contact the IT Helpdesk at [email protected] or 304-384-5291 for assistance.

